Custom Bar Cabinets: Design, Layout and Build Guide
By GB Interiors · · 12 min read
There’s a moment in every good evening when everyone drifts towards where the drinks are poured. A bar made for your home turns that corner into one you’ll love to host from: every bottle in its place, glasses within reach, soft light on the shelves, and doors that close it all away when the night is over.
A custom bar cabinet is built to the exact size of your room, your bottles and glassware, and your finishes. A built-in bar is fixed into the walls or the joinery beside it, so it reads as part of the house rather than a piece of furniture. The best results come when one team designs, makes and installs it from drawings made for your space. That’s how we build bars in Sydney, and this guide covers what to decide, in what order, and where projects go wrong.
Key Takeaways
- “Custom” describes who designs the bar and for what space. “Built-in” describes how it’s installed. The best bars are both.
- Decide the location and footprint first, then the storage, then the materials. Changing that order means redrawing.
- Measure what you own before anything is drawn: the tallest bottle, the widest glass, every appliance.
- Plan power, lighting and the fridge’s airflow on the drawings, before anything is made.
- Choose finishes together, with samples, and carry one material from the kitchen into the bar.
Custom or built-in: what the words mean
People search for both and often mean the same thing, but they answer different questions.
Custom means the cabinet is designed for your home, not chosen from a catalogue. Its width, height, depth, door style, inside layout and finish are all set by you and the maker.
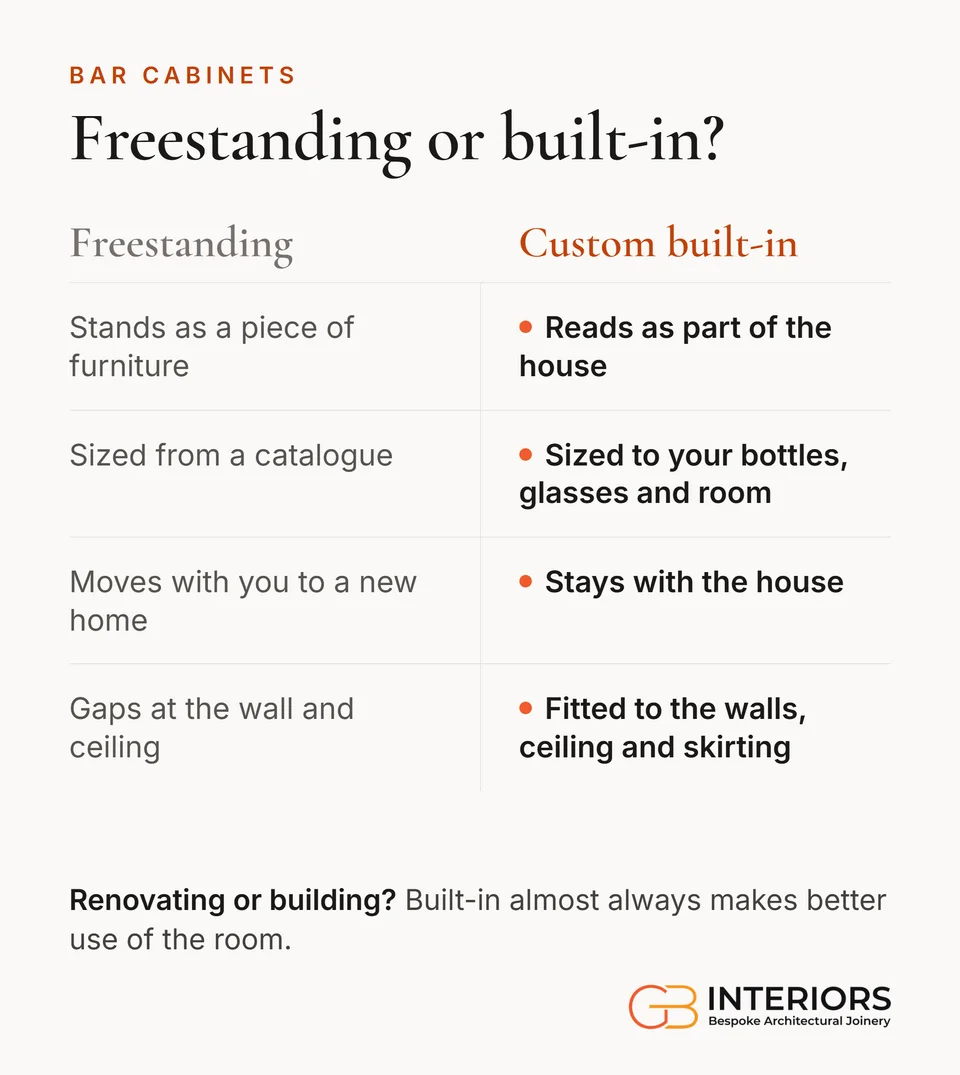
Built-in means the cabinet is fixed into the room: to the walls, the ceiling or the joinery beside it, instead of standing as furniture. That’s why drawings matter so much. A built-in bar has to meet the walls, ceiling, skirting and neighbouring cabinets cleanly, and it only does when every dimension is drawn for the room.
A freestanding bar can move with you to your next home. A custom built-in bar usually can’t, but it uses every centimetre, lines up with the rest of the room and reads as part of the architecture.
Why bars have moved into the kitchen
Bars are no longer kept to a rumpus room corner. Kitchen designer Darren Genner, director of Minosa, told Kanebridge News that a built-in bar has become a popular must-have among his clients. In the same piece, architect Carla Middleton describes a bar “central to the living and entertaining area that you can seal off when you are not entertaining”.
That’s the appeal. The bar sits within reach of where you cook and gather, and when its doors close, it disappears into the cabinetry. In an open-plan home it solves a real problem: drinks and glassware stay out of the cooking zone, guests have somewhere to gather that isn’t the cook’s bench, and the room stays calm when the bar is closed.

Plan the location before anything else
Where the bar sits decides whether it’s used. Place it near where people entertain, and plan it around how they move through the home. Before you commit, mark these on the floor with tape:
- The cabinet’s footprint, including the depth of open doors and drawers.
- Where you’ll stand to serve.
- The route to seating, so a guest collecting a drink never crosses the cook’s path.
- The serving surface, where glasses and bottles land. As Carla Middleton puts it, “You want a good open benchtop, when you are entertaining, to serve as a cocktail station.”
- Room to pull back chairs, if the bar has stools or sits beside a dining table.
Some places suit particular homes:
- Beside the island or at the end of a kitchen run. The bar shares the benchtop and reads as part of the kitchen.
- Between the kitchen and dining room. Guests reach it without entering the work area.
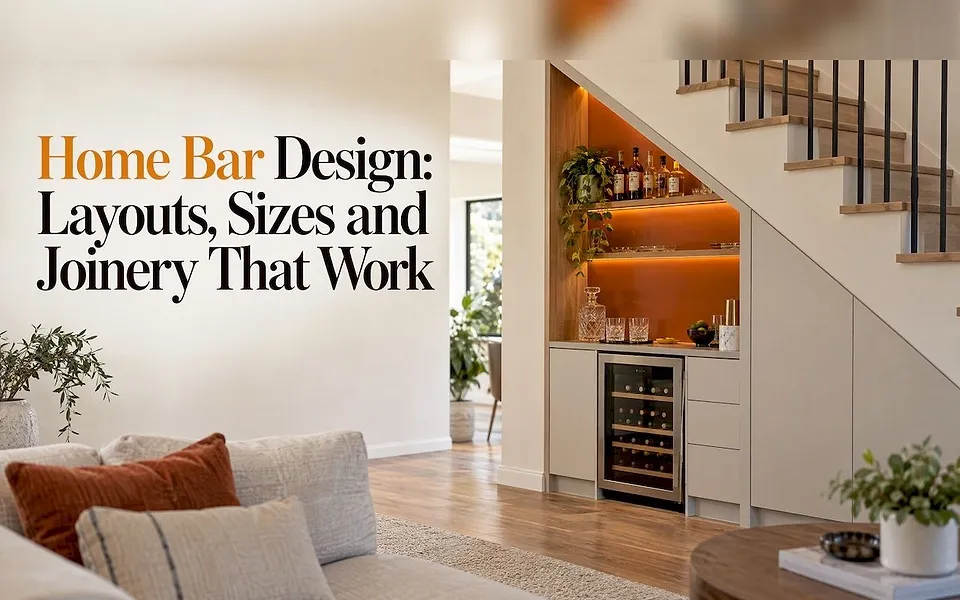
- Within a media wall or a living room feature wall. The bar shares its joinery with the TV unit, so the room looks designed as one. We make TV units and media walls as well as bars, so the two can be drawn together.
- Outdoors. A bar beside the barbecue is a different build, with materials chosen for the weather. Our guide to outdoor kitchen cabinetry covers it.

Think about the person behind the bar as much as the people in front of it. Leave enough standing room to open a fridge door fully and to move without bumping the cook.
Size it around what you own
The common mistake is designing the front first and the contents second. Do the reverse. Lay out your real collection on a table: bottles by height, decanters, wine, the glassware you use for a big dinner, shakers and tools, the ice bucket. Measure the tallest bottle, and the widest glass, bowl and stem.
Then decide what the bar is for:
- A spirits and glassware cabinet needs shelf height for tall bottles, depth for two rows of glasses, and a clear landing area.
- A wine-led bar needs racking, a fridge cavity of its own, and perhaps a display zone.
- A full entertaining bar adds a bar fridge, ice storage, a small sink, power for appliances and a bench with real working room.
A bar that’s too shallow leaves bottles hanging off the shelves; one that’s too deep hides glasses at the back. Collections grow, too: Darren Genner notes that clients who collect gin bottles “want a place to store them”. Made-to-measure joinery lets every shelf be set for what it holds, with room to add more. For bench and stool heights, overhangs and layouts, see our guide to home bar design.
Storage worth planning in
The inside of the cabinet is where custom pulls ahead of anything off the shelf. Worth discussing at the design stage:
- Open shelves for the bottles you love to show, with closed storage beneath for the rest.
- Glass or softly lit shelves for display.
- Hanging racks for stemware above the serving surface.
- Drawers with dividers for tools, bitters, napkins and straws.
- Wine racking sized to your bottles.
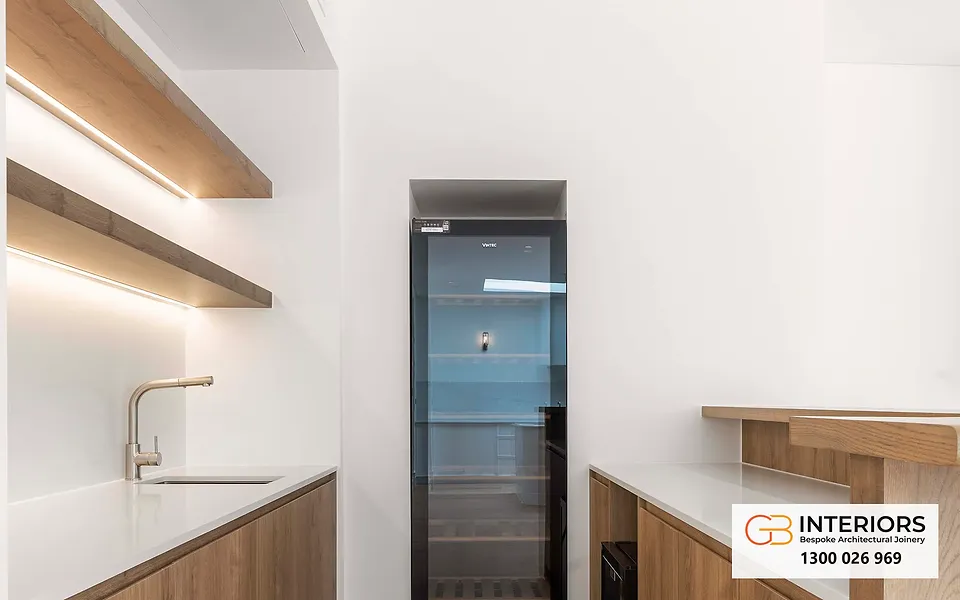
- A cavity for a bar fridge or an under-bench wine fridge, with the joinery designed around the appliance.
- Doors that close the bar away when you’re not entertaining.
- A place for the coffee machine, if the bar doubles as a morning station.
Give us the exact appliance models early. A fridge cavity is built to the appliance, and a late change of model can mean remaking it.
Materials and finishes
The bar is the part of the home people look at while holding a drink, so its finishes earn close attention. Darren Genner names the palette many of his clients choose: “metallics, marble and smokey glass with LED lights”. Here’s how the main elements behave in daily use:
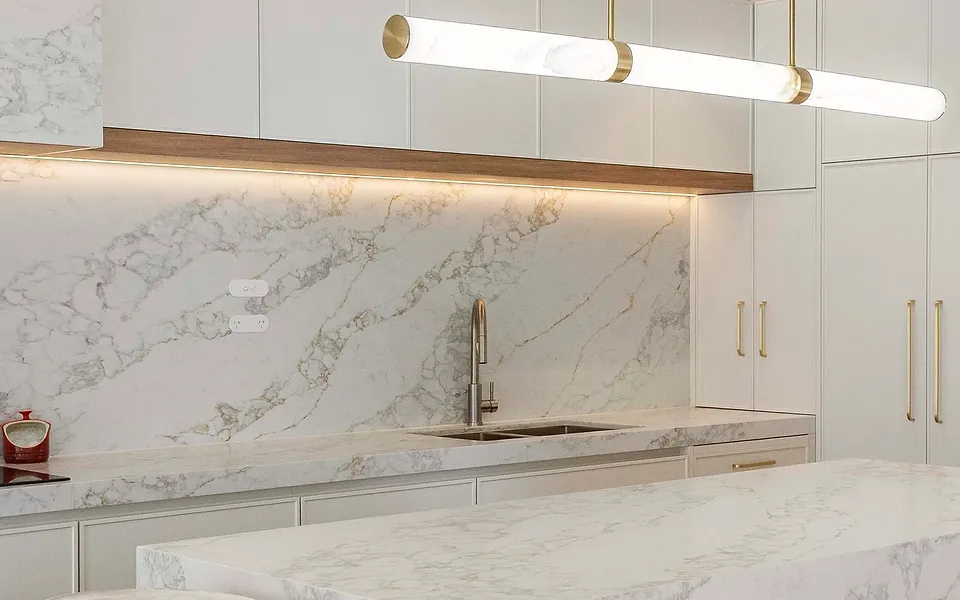
- Benchtop. Natural stone such as marble, porcelain or a silica-free surface, matched to the kitchen for a seamless look. Spills from wine and citrus are part of a bar’s life, so choose a surface you’re comfortable caring for, and see the samples in your own light.
- Doors and panels. Polyurethane gives a smooth, precise painted finish in any Dulux colour and sheen. Woodgrain brings warmth, and can run across doors, panels and shelves, as the curved oak bar in our Willoughby home shows.
- Back panels and accents. Mirror makes a small bar feel larger and doubles the glow of the bottles. Metallic touches suit handles and trims.
- Doors that close it away. Tall doors, bi-folds or pocket doors let the bar disappear between gatherings. They’re opened constantly, so the hardware matters; it’s why we fit Blum soft-close hardware throughout our kitchens.
- Handles. From solid brass to mother of pearl, chosen with the door style. They’re touched every day, so try the feel on a sample.
A useful rule: carry one material from the kitchen into the bar, such as the same stone or the same timber, then add one contrast, such as mirror or a darker panel. The bar stays connected to the room without looking like an afterthought.
Lighting, power and ventilation
These details separate a bar that looks good on paper from one that works on a Saturday night. Settle them on the shop drawings, so the joinery is made with the right cut-outs and cavities.
Lighting. Plan it in layers: soft light inside the shelves to show off bottles and glassware, and task light over the serving surface so you can see what you’re pouring. Decide the switching and dimming early, and whether the lights should come on as a door opens.
Power. List every appliance: bar fridge, wine fridge, ice maker, coffee machine, lighting drivers. Each needs a power point in a sensible place, usually hidden inside the cabinet but still easy to reach. In NSW, new wiring and power points are work for a licensed electrician, and your joinery drawings should show where the points and cable paths sit. A small sink adds a licensed plumber to the sequence.
Ventilation. Fridges and wine coolers give off heat. When one sits inside a closed cabinet, the joinery needs the airflow and clearances set out in the appliance maker’s installation instructions, so give us the exact model before anything is made, and the cavity, vents and panels are drawn to suit.

How a custom bar comes together
A clear process keeps the result exactly as drawn. Here’s the sequence, and where things usually go wrong.
- Brief and measure. You share how you entertain, what you store and any images you love. A floor plan, a few photos and a list of what the bar must hold make the first conversation far more useful. The room is then measured, including walls that aren’t square, which is common in older Sydney homes. Where it goes wrong: designing from rough dimensions, then finding gaps at installation.
- Design and shop drawings. The layout, door styles, inside fittings, appliance cavities, power and lighting are drawn in detail. Where it goes wrong: approving a beautiful render without checking the construction drawings the workshop will actually build from.
- Materials and finishes. Stone, polyurethane colours, woodgrain and hardware are chosen together, so they work side by side. Where it goes wrong: choosing finishes separately, in different light, and finding they clash.
- Making. Components are cut on computer-controlled machinery, then finished and assembled. Where it goes wrong: handing the job between a separate designer, factory and installer, each assuming another checked the dimensions.
- Installation. The cabinet is fitted to the walls and neighbouring joinery, the benchtop is set, doors and hardware are adjusted, and licensed trades connect the power and plumbing. Where it goes wrong: a poor fit at the wall, or a gap beside the fridge that shows every day.
Mistakes to avoid
- Designing the front before the contents. Measure bottles, glasses and appliances first.
- Leaving electrics until the end. Power, lighting and appliance clearances belong on the drawings.
- Ignoring traffic. A bar in the cook’s path gets blocked at the first party.
- Choosing finishes one at a time. Decide stone, colour, woodgrain and hardware together, with samples.
- Splitting the job. A separate designer, factory and installer leave more room for errors in the dimensions.
How we approach bar joinery
Most disappointing bars have the same cause: they were designed as furniture, then forced into a room. A bar that feels right starts with the room, the people who use it and the things it must hold, and the drawings follow.
We keep design, making and installation with one team, because a built-in bar leaves no room for error. Detailed shop drawings settle every dimension before anything is cut, and the computer-controlled machinery in our own Sydney facility cuts the panels to match. When the people who drew the bar also make and fit it, nothing is lost between the idea and the wall.
Treat the bar as part of the kitchen or living space, not an accessory. Choose finishes you’ll still love in ten years, plan the power and lighting on paper, and give it the same care as the rest of the joinery.
FAQ
Is a built-in bar cabinet better than a freestanding one?
A built-in bar is fixed into the room’s walls or joinery, so it uses the space fully and matches the finishes around it. A freestanding piece can move with you, but it rarely lines up with the room. If you’re renovating or building, built-in usually gives the more polished result.
Where should I put a bar cabinet?
Near where you entertain, planned around how people move through the room. Common places are the end of a kitchen run, between the kitchen and dining room, or within a living room feature wall. Mark the footprint, the serving spot, the route to seating and the serving surface on the floor before you decide.
What materials work best for a bar?
Natural stone such as marble, porcelain or a silica-free surface suits the benchtop, polyurethane gives a precise painted finish, and woodgrain adds warmth. Mirror and metallic details bring sparkle, and doors that close the bar away keep the room calm. Choose them together, with samples, so the palette works as a whole.
Can a bar be part of my kitchen or media wall?
Yes. Designed with the joinery around it, the bar can share its stone, woodgrain and colours, and the whole space is drawn once. We make kitchens, media walls and bars, so they can be planned as one project.
Can a bar cabinet double as a coffee station?
Yes, and it often makes the space work all day. Plan a power point, a bench for the machine and storage for cups, behind doors that close when the morning rush is over.
Begin your bar
See the curved oak bar in our Willoughby home, browse the designs we can create for you, or learn more about our custom joinery, from bars and studies to pantries and feature walls. Planning a whole home? Explore our kitchens, whole-home joinery and approach to premium interiors. Builders and designers can bring us in for bars within larger residential and commercial projects.
Every project begins with a complimentary consultation. Choose one at home, and our mobile showroom comes to your door, with designs, colours and samples to choose from in the light you’ll live with.
To make that corner where everyone gathers the one you’ll love to host from, book your complimentary consultation.
Sources
- The mancave mainstay that became a kitchen must-have, Robyn Willis, Kanebridge News, 2023.
- Electrical licences, NSW Government.
- Plumbing, draining and gasfitting work, NSW Government.